The Twister ruler is a square ruler with lines drawn a little wonky. These are the lines you will be lining up on the seams.
Starting at the top left corner, place the ruler along all 3 seam lines. You will only have 3 here because the border is sewn on without any seams. Make sure there are no bumps under the ruler. It's easy to get bumps since the ruler is on 'stilts'. Then cut around all 4 sides of the ruler. Be sure to no go more than a 1/4" past the sides or it will cut into the next piece.
.JPG)
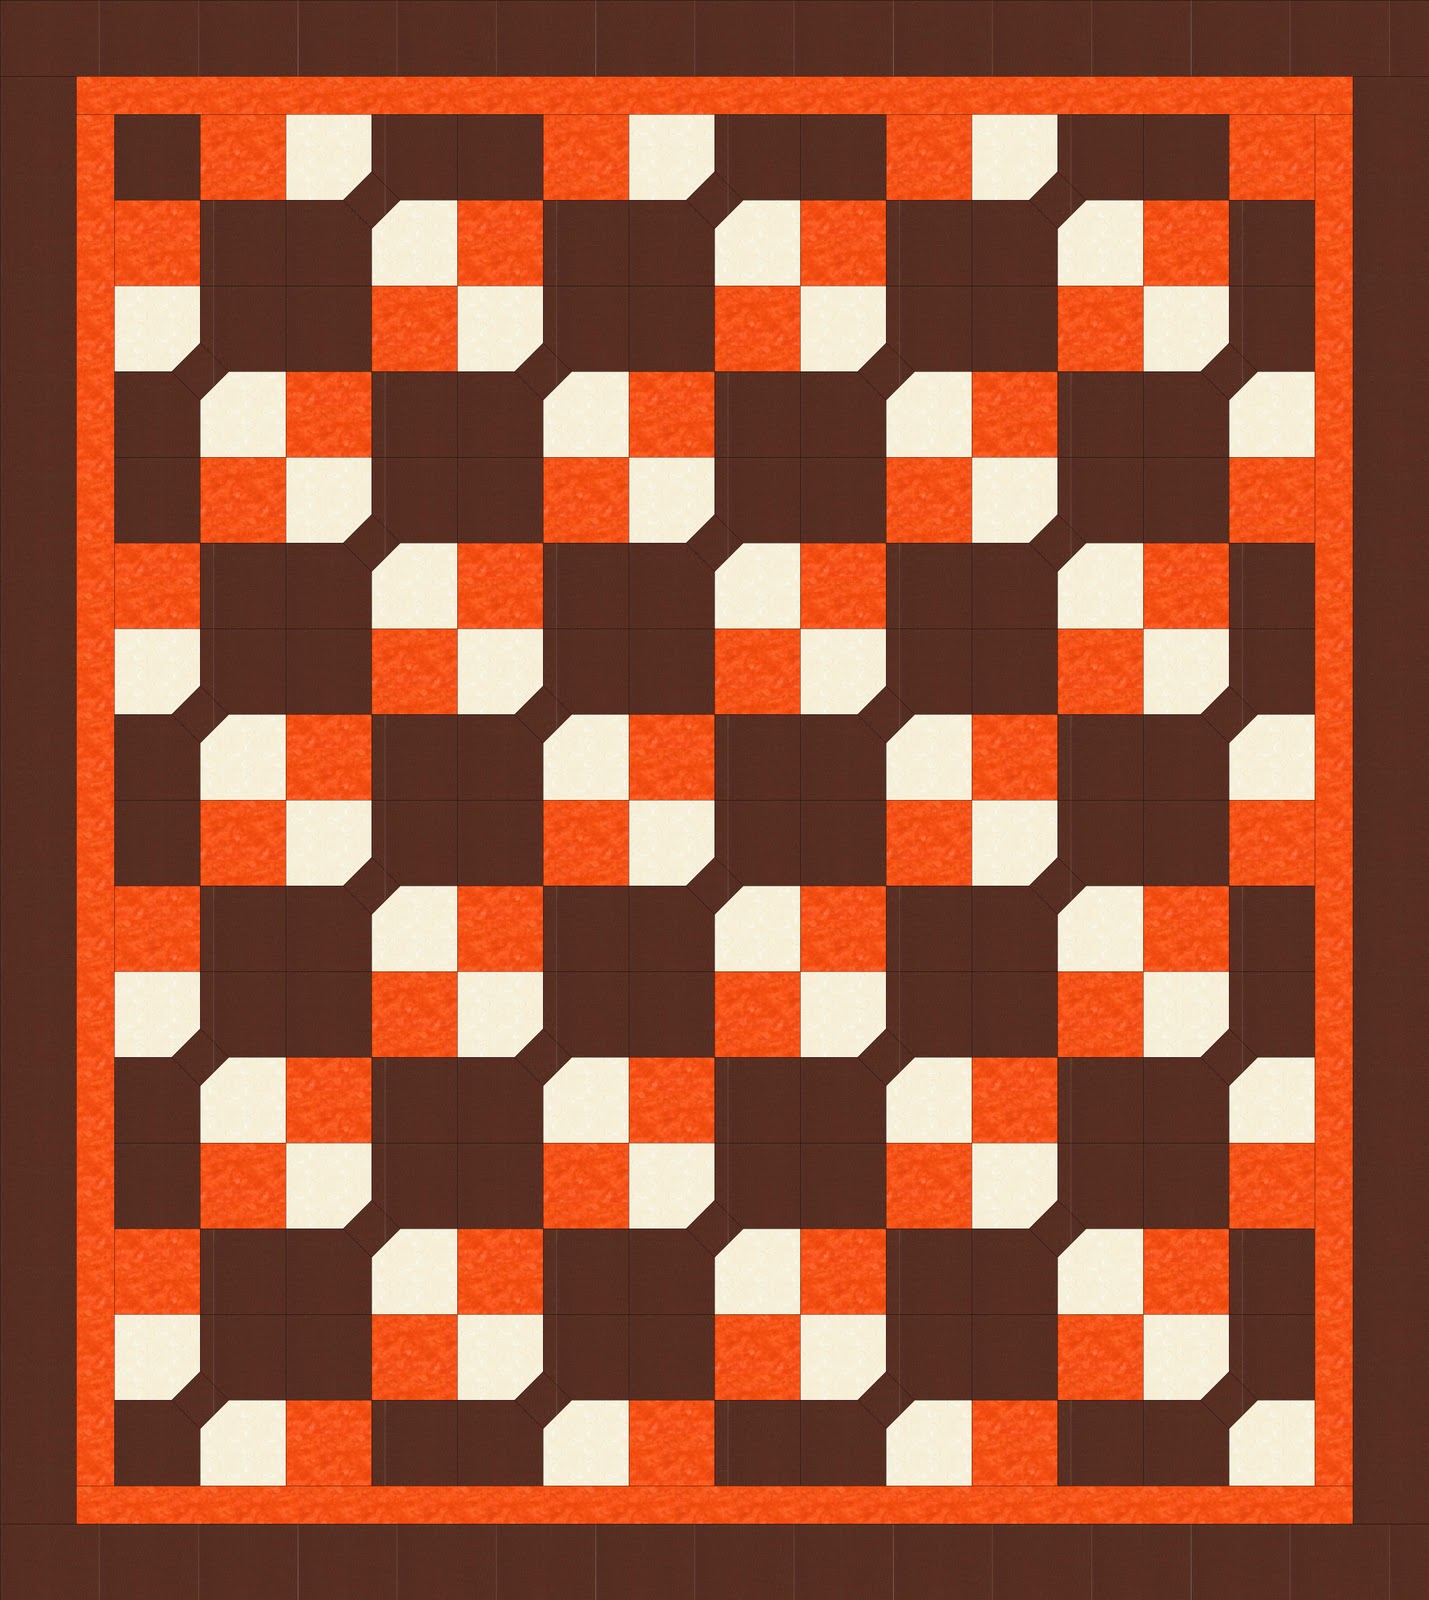
Remove the square from the cutting table and put onto a design wall or table.This is what the 36 patch will look like now.
.JPG)
Here's the fun part. Twist the block clockwise until the block is a straight square.

Repeat for each square, remembering to line up the lines with the seams. On any piece that has a border included there will only be 3 seams to line up with and on all the rest there will be 4. This is what it will look like after 2 squares are cut.
.JPG)
Keep cutting and adding squares to finish the first row. Notice how you can see the twisted pinwheels forming.
.JPG)
Then start on the 2nd row. This is what it will look like after the first two squares of the second row are cut. You can see the first twisted pinwheel now.
.JPG)
After you have all 49 squares cut out then sew them back together just like you did for the original 36 patch, but you will have 7 rows of 7 this time. Remember not to pull the fabric when sewing it back together because it is cut on the bias and has extra stretch.

Now I just need to give this a quick press. Next week we will be adding an outside border or 2 if you want. I have some of the black Sassy with the little paisley print for the border, but an thinking of doing a turquoise for a first border.
Don't forget to link up your twister quilts on the flickr page.

.JPG)
.JPG)
.JPG)
.JPG)