One of the things I love the most about EQ7 is the ability to take the same block or blocks and manipulate them different ways to decide on what you like best.
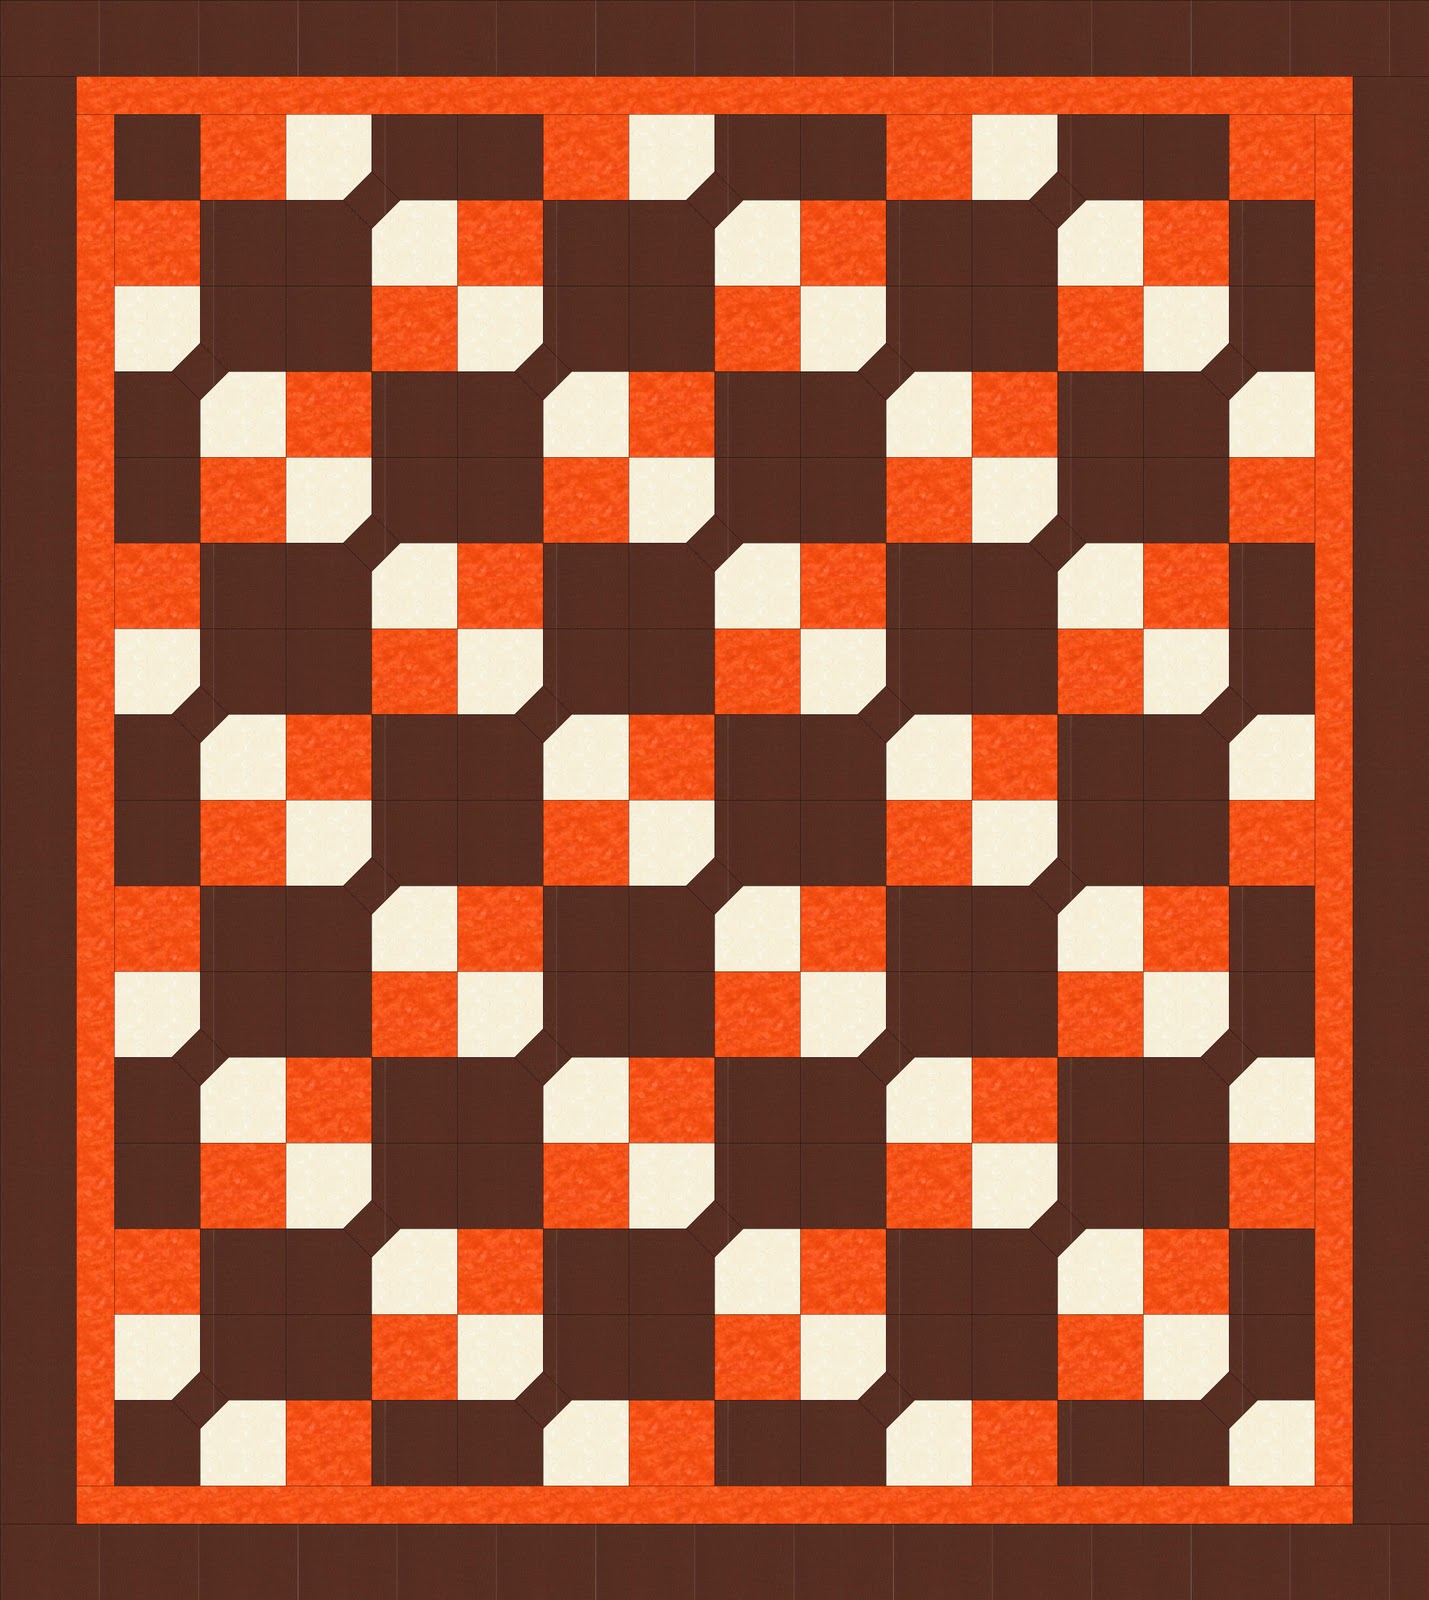
When I was designing the Floating Squares Quilt for my son I knew I wanted to use bowties and 4 patches. I wanted it to be an easy pattern to make. But that was the only thing I knew. So I started out with every other block a 4 patch and every other block a bowtie. Then I added a little color based on what colors I know he likes. It was as simple as coloring in the blocks. There's this wonderful function in EQ7 that lets you color in all the blocks at the same time or every other block at the same time. So after a few key strokes here's what I had.

When I started out I had no idea this was how it would look but I knew I was onto something Tyler would like.
Another thing that is great about the software is that you can move your blocks in different directions very easily and you can change the blocks slightly. Here's a few ways I played with the design
Using connectors on all corners

Opposite colors

Different Colors

Girl colors

After seeing all these choices I knew which design I liked best and luckily Tyler agreed. The rest fell into place. I added 2 borders and had my design. I do my own quilt math since I usually make my blocks a little different, and this one was very easy. I also knew that I wanted to make this in girl colors at some point (It's almost finished by the way).
Here's my finished quilt

Since Tyler goes to school in Baltimore I knew this had to be a warm quilt. I backed it with flannel and its very warm, he loves it. By the way it's not really crooked, I just didn't pin it on that side.
Stay tuned for my first giveaway announcement later today!