Showing posts with label The Berry Patch. Show all posts

Sunday, March 11, 2012

If you are looking for the EQ7 Giveaway click here!

Yesterday I went to the monthly meeting of Quilt Sitters at The Berry Patch. It's held the 2nd Saturday of each month from 1:00 - 3:00. My friend Gail leads it, she shows us different blocks and ways to use them in quilts. There's always lots of eye candy from Gail and others. Yesterday it was rainy and dreary and was the beginning of Spring break here so lots of people were missing, but I'm sure everyone will be back next month.

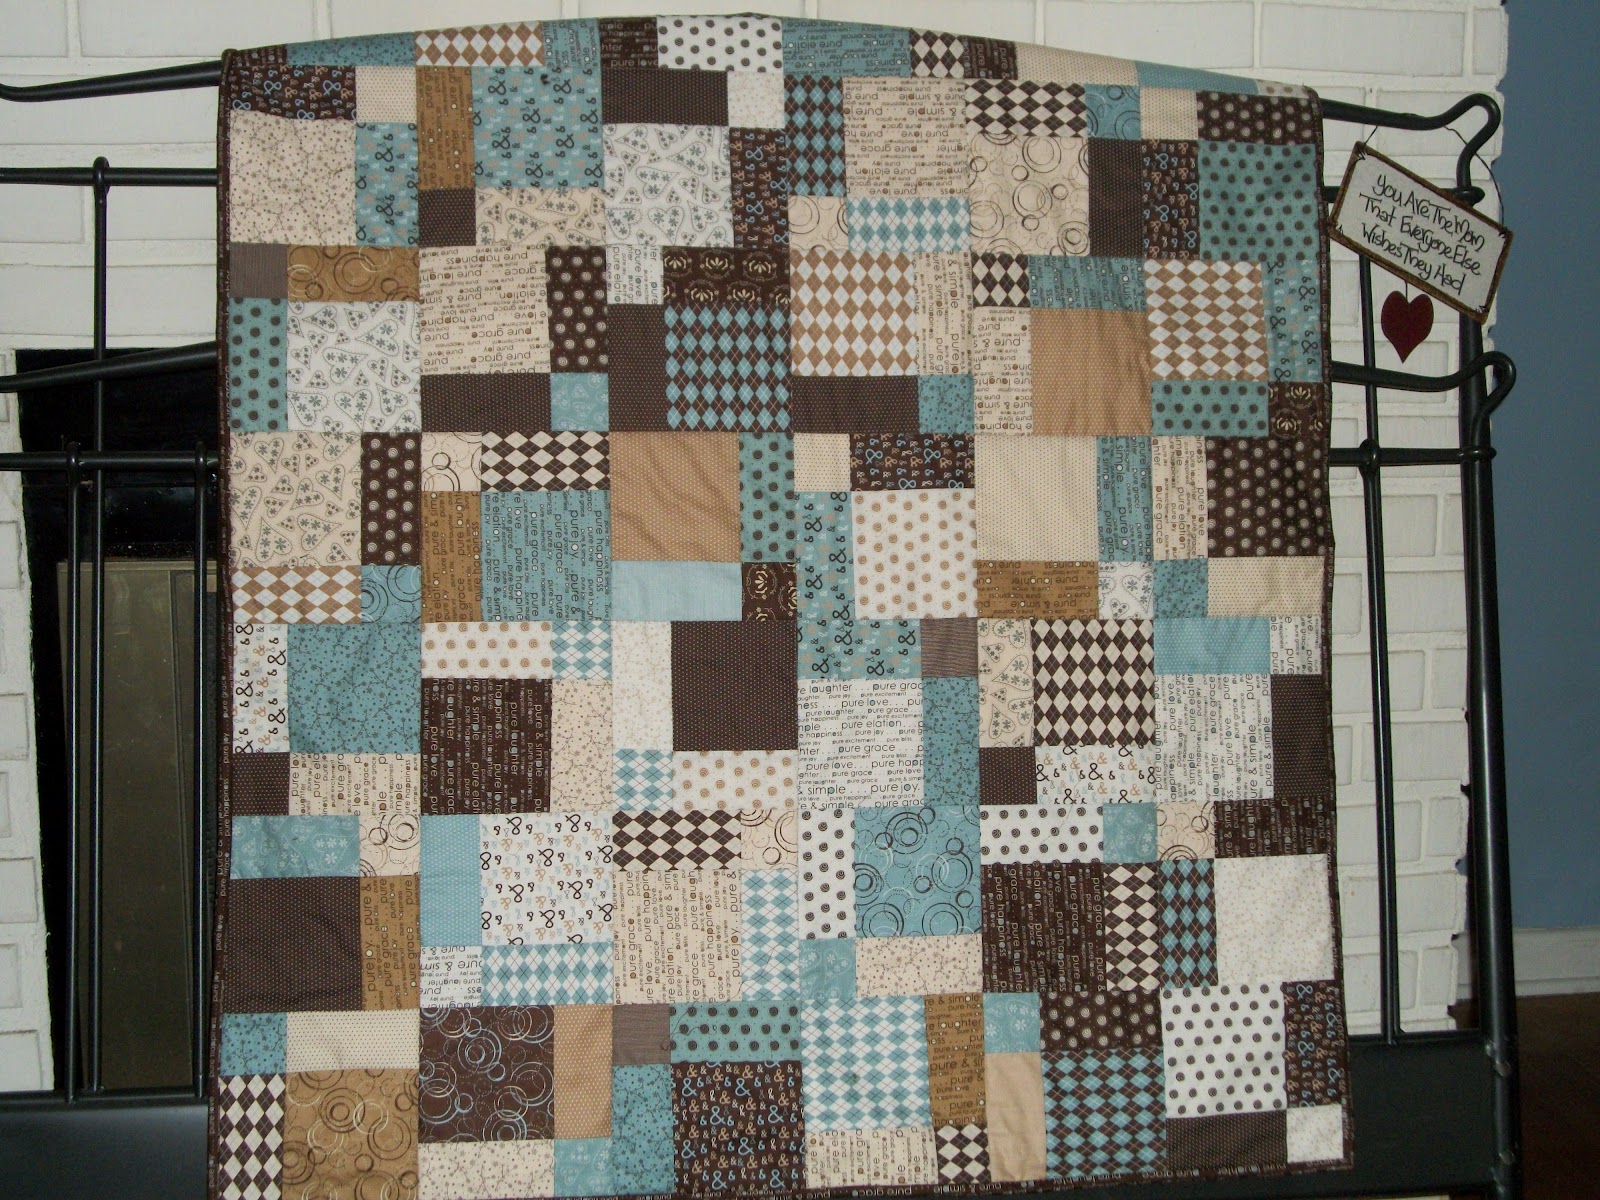
Yesterday we saw how to make a disappearing 9 patch quilt and lots of different ways to use the blocks. The first quilt I ever made was from a pattern called "Tossed Nine Patch" from Eleanor Burns. It took me a while to realize that it was really a disappearing 9 patch made with the same center block. Here's a pic of it and another quilt that I made with the pattern after that. You will notice that all the corner squares are green in the wall hanging. I have this hanging in my living room to show me where I started from. The seams don't all match (very few do) and I had no idea what 'stitch in the ditch' meant so I quilted a quarter inch away from the ditch. On the quilt below I used a white for the corner squares.

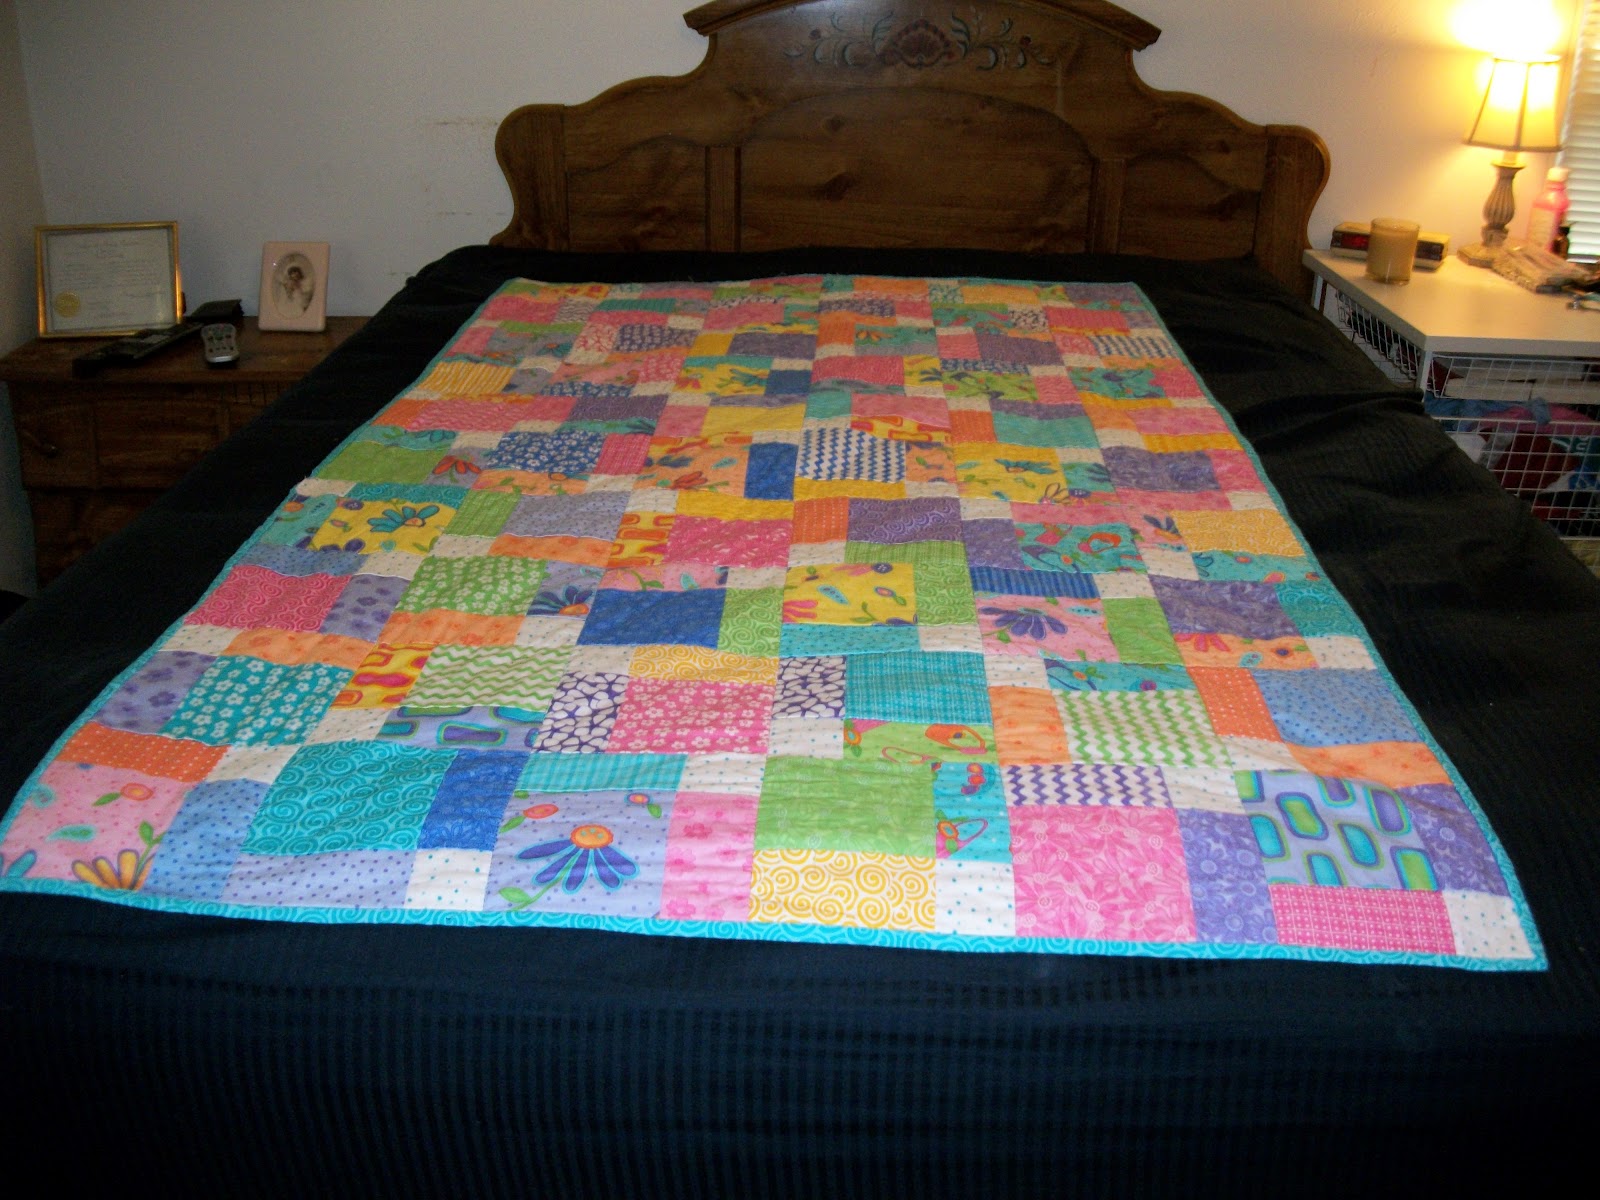

Here's another Disappearing 9 Patch quilt I made last year. My son Bryan stole this and rumor has it he can be seen cuddled under it a lot. I made this one scrappy and is the quilt I use for my background on this blog.

Every year Quilt Sitters picks a project to work on. Last year was a Border Round Robin that looked like lots of fun, I started too late to get in on the fun, but loved seeing every ones work. This year we are making Quilts of Valor. At last count they were over 300 quilts behind their goal. Gail showed us a wonderful patriotic quilt that was actually started on September 11, 2001. The group she was with had planned to start a patriotic quilt that day. Here's a pic of her quilt.


Isn't it great? Here's my friend Julie with the block she made from last months block pattern. She made one for the Quilt of Valor and one for a Baby Quilt we are making for Project Linus.


Then came the eye candy. Here's some of the quilts our members made.


So that's what I did yesterday. What did you do?

If you are looking for the EQ7 Giveaway click here!

Yesterday I went to the monthly meeting of Quilt Sitters at The Berry Patch. It's held the 2nd Saturday of each month from 1:00 - 3:00. My friend Gail leads it, she shows us different blocks and ways to use them in quilts. There's always lots of eye candy from Gail and others. Yesterday it was rainy and dreary and was the beginning of Spring break here so lots of people were missing, but I'm sure everyone will be back next month.

Yesterday we saw how to make a disappearing 9 patch quilt and lots of different ways to use the blocks. The first quilt I ever made was from a pattern called "Tossed Nine Patch" from Eleanor Burns. It took me a while to realize that it was really a disappearing 9 patch made with the same center block. Here's a pic of it and another quilt that I made with the pattern after that. You will notice that all the corner squares are green in the wall hanging. I have this hanging in my living room to show me where I started from. The seams don't all match (very few do) and I had no idea what 'stitch in the ditch' meant so I quilted a quarter inch away from the ditch. On the quilt below I used a white for the corner squares.


Here's another Disappearing 9 Patch quilt I made last year. My son Bryan stole this and rumor has it he can be seen cuddled under it a lot. I made this one scrappy and is the quilt I use for my background on this blog.


Every year Quilt Sitters picks a project to work on. Last year was a Border Round Robin that looked like lots of fun, I started too late to get in on the fun, but loved seeing every ones work. This year we are making Quilts of Valor. At last count they were over 300 quilts behind their goal. Gail showed us a wonderful patriotic quilt that was actually started on September 11, 2001. The group she was with had planned to start a patriotic quilt that day. Here's a pic of her quilt.


Isn't it great? Here's my friend Julie with the block she made from last months block pattern. She made one for the Quilt of Valor and one for a Baby Quilt we are making for Project Linus.


Then came the eye candy. Here's some of the quilts our members made.


So that's what I did yesterday. What did you do?

Sunday, March 4, 2012

I was a Wild Thing!

Last weekend I attended a 2 day class at The Berry Patch. We made a pattern called The Wild Thing by Villa Rosa Designs. I don't have much experience with big prints, to me when you cut them in smaller pieces they are scrappier than I like. But in the interest of expanding my quilting horizon I decided to step out of my comfort zone and I am so glad that I did!

I had this fun fabric sitting around that is a very big and bold print, which was perfect for this quilt. It was pretty fast to put together, definitely could be done in a day.

There were 4 of us in the class and 3 of us finished our quilt tops. The other gal would have but she had to leave early. Hers was made for a little one and I just know it will be adorable. Here's the quilts that the rest of us made.

This is the sample quilt that Gail made. Seeing this made me want to take this class. Gail's classes are always great, if you in in the Fort Worth area you should take a class at the Berry Patch.


Here's the quilt Mindy made for her Grand Niece. Aren't these colors fun? I just love the focus fabric, well I love everything from Me & My Sister.


The new gal, Jennifer made this beautiful quilt. This is only her second quilt and I think she did great. I can see that she has a lot of wonderful quilts in her future.


And here's my Wild Thing quilt. I am going to call it 'Wild Weekend'


When I got home and showed this to my hubby he loved it. I was surprised that he was so Craizee about it since it's so bright, but that's what he liked about it. That man never ceases to amaze me, here I was thinking that he liked muted colors better. I still need to put a border on it and then I will get to play with it on the long arm. I will either do some swirls on it or I might do diagonals on my Bernina instead. Which do you prefer? 

Come back tomorrow to help me celebrate my 1 year blog anniversary, I promise to have lots of fun ahead.

I was a Wild Thing!

Last weekend I attended a 2 day class at The Berry Patch. We made a pattern called The Wild Thing by Villa Rosa Designs. I don't have much experience with big prints, to me when you cut them in smaller pieces they are scrappier than I like. But in the interest of expanding my quilting horizon I decided to step out of my comfort zone and I am so glad that I did!

I had this fun fabric sitting around that is a very big and bold print, which was perfect for this quilt. It was pretty fast to put together, definitely could be done in a day.

There were 4 of us in the class and 3 of us finished our quilt tops. The other gal would have but she had to leave early. Hers was made for a little one and I just know it will be adorable. Here's the quilts that the rest of us made.

This is the sample quilt that Gail made. Seeing this made me want to take this class. Gail's classes are always great, if you in in the Fort Worth area you should take a class at the Berry Patch.


Here's the quilt Mindy made for her Grand Niece. Aren't these colors fun? I just love the focus fabric, well I love everything from Me & My Sister.


The new gal, Jennifer made this beautiful quilt. This is only her second quilt and I think she did great. I can see that she has a lot of wonderful quilts in her future.


And here's my Wild Thing quilt. I am going to call it 'Wild Weekend'


When I got home and showed this to my hubby he loved it. I was surprised that he was so Craizee about it since it's so bright, but that's what he liked about it. That man never ceases to amaze me, here I was thinking that he liked muted colors better. I still need to put a border on it and then I will get to play with it on the long arm. I will either do some swirls on it or I might do diagonals on my Bernina instead. Which do you prefer? 

Come back tomorrow to help me celebrate my 1 year blog anniversary, I promise to have lots of fun ahead.

Friday, January 27, 2012

Yesterday I was a Basket Case

If you are looking for the Darling Heart FQ bundle giveaway click here.

I admit it, yesterday I was a basket case! Not the Craizee kind, although I am that from time to time :). But I took a fabric basket class and yes at times it did drive me Craizee.


I love the classes at The Berry Patch in Fort Worth and take them often. They have just about every type of class having to do with fabric I can think of. From quilting techniques to smocking and from sewing cute little things to embroidery.

In yesterdays class we made an adorable fabric basket. We used the Biscuit Basket pattern by Aunties Two. And since I was in full out V-Day mode I used some of the leftover jelly roll strips from Always & Forever. I was a lot of fun to make, and I always enjoy the classes at The Berry Patch. I always meet new people and see old friends when I go there. If you live in North Texas its definitely worth the drive to go there.

I hope you enjoyed V-Week here on Craizee Corners. I'd love to know if you make any of these projects. 


Don't forget to enter the giveaway for a FQ bundle of Darling Heart Garden from The Fat Quarter Shop. the giveaway ends tonight at 11:59 PM. If you missed it here's the link again. http://craizeecorner.blogspot.com/2012/01/its-v-week.html  


Yesterday I was a Basket Case

If you are looking for the Darling Heart FQ bundle giveaway click here.

I admit it, yesterday I was a basket case! Not the Craizee kind, although I am that from time to time :). But I took a fabric basket class and yes at times it did drive me Craizee.


I love the classes at The Berry Patch in Fort Worth and take them often. They have just about every type of class having to do with fabric I can think of. From quilting techniques to smocking and from sewing cute little things to embroidery.

In yesterdays class we made an adorable fabric basket. We used the Biscuit Basket pattern by Aunties Two. And since I was in full out V-Day mode I used some of the leftover jelly roll strips from Always & Forever. I was a lot of fun to make, and I always enjoy the classes at The Berry Patch. I always meet new people and see old friends when I go there. If you live in North Texas its definitely worth the drive to go there.

I hope you enjoyed V-Week here on Craizee Corners. I'd love to know if you make any of these projects. 


Don't forget to enter the giveaway for a FQ bundle of Darling Heart Garden from The Fat Quarter Shop. the giveaway ends tonight at 11:59 PM. If you missed it here's the link again. http://craizeecorner.blogspot.com/2012/01/its-v-week.html  


Wednesday, January 18, 2012

Tumblers

If you are looking for the Nifty Notions Ruler Giveaway click here.

Have you ever made a tumbler quilt? A tumbler is just another name for a wedge of some kind. The wedge pieces are alternated like pictured below.


Most tumbler patterns use a template, but in my world that's a dirty word. And why would I make more work for myself when I can have tons of these great wedge shapes cut in a matter of minutes.

The tumbler pieces are cut the same way as the other 2 blocks I showed you this week. If you missed the tutorial click here.

You can make these tumbler pieces any size you want. I have to make a few more Valentines mug rugs so I decided to use the tumblers as a frame for some embroidery or applique I plan on doing.


For this mug rug I used 4" tumblers. If you trim a charm square to be 4 x 5 then you can get 2 - 4" tumblers from each charm. I had some leftover charms from a quilt I am working on and used them. Once the tumblers are cut, arrange them in a pleasing manner. Remember to turn every other one upside down or you will end up with a Dresden fan instead of a straight line. 

To sew these together simply put them right sides together with the top points lining up. Sew down the right side diagonal. Then press the seams open.


Continue sewing tumbler pieces until you have enough. I used 7 pieces. Then I trimmed them slightly to even it all up.


Now cut the whole piece in half. I wanted the effect of the tumblers continuing from the top to bottom and visa versa. For the center I used a piece of white cut to 6" x 9". 


Make sure the top part of the tumbler strip is on the top of the center fabric and the other is on the bottom.


Now comes the tricky part...getting the pieces to be even. I was taught to line up the centers when using sashing and this is basically the same thing. Fold the white in half along the 9" part and mark the center. Then fold the 2 tumbler parts and mark them. I find it helpful to make a sharp fold where the center is. Start pinning at the marked center line and go out from there.


Sew the top and bottom on and press towards the center. Then even out the sides using the center piece as a guide. There will be a little overhand on each side.


Now I just have to figure out what to put on the white piece.


So are you sold on this technique yet? I don't know where I would be without these special rulers. I personally will do anything not to have to draw on the back of a square, especially along the bias.

If you are looking for any of these Nifty Notions Cut For The Cure Rulers you can order them directly from Kaye England who is the designer of the rulers or from The Berry Patch (tell them Sharon sent you). 

Don't forget to enter the giveaway to win one of these rulers!


Tumblers

If you are looking for the Nifty Notions Ruler Giveaway click here.

Have you ever made a tumbler quilt? A tumbler is just another name for a wedge of some kind. The wedge pieces are alternated like pictured below.


Most tumbler patterns use a template, but in my world that's a dirty word. And why would I make more work for myself when I can have tons of these great wedge shapes cut in a matter of minutes.

The tumbler pieces are cut the same way as the other 2 blocks I showed you this week. If you missed the tutorial click here.

You can make these tumbler pieces any size you want. I have to make a few more Valentines mug rugs so I decided to use the tumblers as a frame for some embroidery or applique I plan on doing.


For this mug rug I used 4" tumblers. If you trim a charm square to be 4 x 5 then you can get 2 - 4" tumblers from each charm. I had some leftover charms from a quilt I am working on and used them. Once the tumblers are cut, arrange them in a pleasing manner. Remember to turn every other one upside down or you will end up with a Dresden fan instead of a straight line. 

To sew these together simply put them right sides together with the top points lining up. Sew down the right side diagonal. Then press the seams open.


Continue sewing tumbler pieces until you have enough. I used 7 pieces. Then I trimmed them slightly to even it all up.


Now cut the whole piece in half. I wanted the effect of the tumblers continuing from the top to bottom and visa versa. For the center I used a piece of white cut to 6" x 9". 


Make sure the top part of the tumbler strip is on the top of the center fabric and the other is on the bottom.


Now comes the tricky part...getting the pieces to be even. I was taught to line up the centers when using sashing and this is basically the same thing. Fold the white in half along the 9" part and mark the center. Then fold the 2 tumbler parts and mark them. I find it helpful to make a sharp fold where the center is. Start pinning at the marked center line and go out from there.


Sew the top and bottom on and press towards the center. Then even out the sides using the center piece as a guide. There will be a little overhand on each side.


Now I just have to figure out what to put on the white piece.


So are you sold on this technique yet? I don't know where I would be without these special rulers. I personally will do anything not to have to draw on the back of a square, especially along the bias.

If you are looking for any of these Nifty Notions Cut For The Cure Rulers you can order them directly from Kaye England who is the designer of the rulers or from The Berry Patch (tell them Sharon sent you). 

Don't forget to enter the giveaway to win one of these rulers!